📱Tired of Budgeting Apps That Don't Quite Fit?
For years, I have tried to find a best personal budgeting app. I have tried multiple options, from bank-offered, free, and paid options. Few were simple, some very sleek and sophisticated. But I couldn’t keep up with any of those and none were personal.
Every app promised to track and solve my money tracking problems but none fit my needs. Some apps were just too complex and features that I didn’t need. Functionalities, like the ability to track specific spending categories or set custom savings goals. And a few just didn’t feel right – they were clunky, unintuitive, or just plain ugly.
Being a data engineer myself, I knew that I could manage my expenses far better than those apps. If I couldn’t find the perfect budgeting app, why not build one myself? I started exploring options from complex coding to simpler solutions. What I landed after 6 months of finding and struggling was that we all can build it for free, using only Google’s suite of powerful tools.

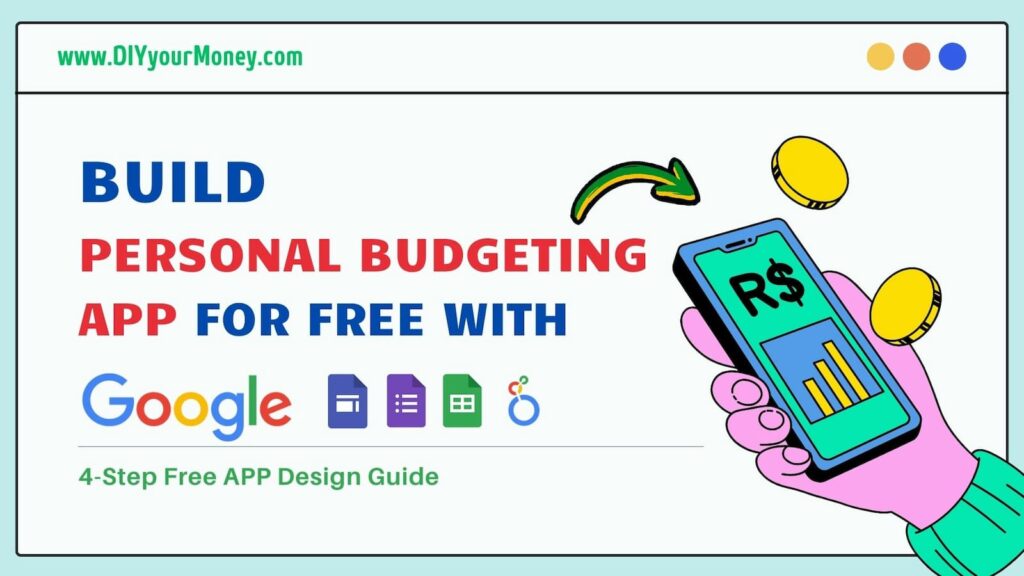
In this guide, I will give you the design that you can use to create your own personalized, end-to-end finance app that tracks expenses, stores data for free, generates insights, the one that matters to you, and puts you in charge of your money. We will leverage Google Forms, Google Sheets, Looker Studio, and Google Sites to build a powerful and user-friendly solution. It would be a cool project to showcase for your college assignment, in work, and most of all to yourself for personal financing needs.
Quick Summary
Learn how to create a DIY personal budgeting app using the free Google tools you already use. This guide breaks down the 4-step design process to help you take control of your data and stop paying for monthly subscriptions.
- Capture: Create a custom entry point with Google Forms.
- Store: Build a secure, automated database in Google Sheets.
- Analyze: Turn rows of data into visual insights with Looker Studio.
- Launch: Package everything into a mobile-friendly app using Google Sites.
Cost: $0 | Time: 1 Weekend | Experience: No coding required.
"If you want something done right, do it yourself."
- Napoleon Bonaparte Tweet
 Life Lessons
I’ve always believed that true financial control requires a system you can actually trust. After years of testing generic tools that fell short, building my own custom solution was the turning point that helped me achieve Coast FIRE. Investing a few weekends into building your own framework is a small price to pay for the lifetime of freedom and peace of mind it provides.
👷♂️ The 4-Step Design
This 4-step design process leverages the power of Google’s free tools – Forms, Sheets, Looker Studio, and Sites – to create a budgeting app that’s not only effective but also surprisingly easy to build. Let’s dive in and transform your financial management, one step at a time.

1️⃣ Google Forms: Your Expense Entry Point 📱
- We’ll start by creating a Google Form to easily input your expenses.
- Think of it as your digital expense journal. Every time you spend money, you’ll open this form and record the details.
- Pro tip: Keep it simple at first. Start with basic fields like date, amount, and category. You can always add more later!
- Key steps:
- Open Google Forms and create a new form.
- Add fields for:
- Date of the expense
- Amount spent
- Category (e.g., Groceries, Dining, Transportation)
- Optional: Notes or description
- Customize the form’s appearance with a title, description, and theme.
- Share the form with yourself so you can easily access it on your phone or computer.

2️⃣ Google Sheets: Your Financial Database 📂
- All the data you enter into the form will automatically flow into a Google Sheet. This sheet becomes your central financial database.
- It’s like having a super-organized ledger that updates itself every time you add an expense.
- Bonus: Google Sheets lets you easily sort, filter, and analyze your data.
- Key steps:
- Go to your Google form
- Click on Responses tab
- Click on View in Sheets
- Format the sheet to make it easy to read and understand.
3️⃣ Looker Studio (formerly Google Data Studio): Your Money Insight Engine 📊
- Now comes the fun part: turning your expenses (data) into insights!
- Connect your Google Sheet to Looker Studio to create beautiful, interactive dashboards and visualizations.
- Imagine seeing pie charts that break down your spending by category, line graphs that track your expenses over time, and bar charts that compare your spending month-to-month.
- Key steps:
- Open Looker Studio and create a new report.
- Connect your Google Sheet as a data source.
- Add charts and graphs to visualize your data.
- Customize the look and feel of your dashboard.
- Share the dashboard with yourself or others.

4️⃣ Google Sites: Your App's Home 🕸️
- The final step is to bring it all together. We’ll use Google Sites to create a simple website that houses your form, sheet, and dashboards.
- This website becomes your personalized finance app. You can access it from anywhere, anytime.
- Think of it as your financial command center, all in one place!
- Key steps:
- Create a new Google Site.
- Add pages for your form, sheet, and dashboards.
- Embed the form, sheet, and dashboards on their respective pages.
- Customize the site’s design and layout.
- Publish the site and share the link with yourself.
Sample website I have created with tabs for my finance app:

FAQ
How do I build a personal finance tracker using only free Google tools?
You can build a comprehensive finance tracker by combining four free tools: Google Forms (for quick expense entry), Google Sheets (to store and organize your data), Looker Studio (to create visual spending dashboards), and Google Sites (to host everything in a single, mobile-friendly “app” interface). This DIY approach gives you 100% control over your data without any monthly subscription fees.
Is it safer to use Google Sheets for budgeting than third-party apps?
Generally, yes. When you use Google Sheets, you own your data and it is protected by Google’s high-level encryption and your own account security (like Two-Factor Authentication). Many third-party budgeting apps require access to your bank credentials or sell your spending metadata to advertisers; a DIY Google-based app eliminates these privacy risks entirely.
Can I create a custom budgeting dashboard in Google Looker Studio for free?
Absolutely. Google Looker Studio is a free business intelligence tool that is perfect for personal use. It allows you to connect directly to your Google Sheets database and transform rows of numbers into interactive pie charts, monthly trend lines, and category-wise breakdowns at no cost.
How can I automatically sync Google Forms data to a Google Sheets budget?
This is a built-in feature. In your Google Form, simply click on the “Responses” tab and select the “Link to Sheets” icon. This creates a live connection where every expense you submit through the form is instantly recorded as a new row in your spreadsheet, allowing for real-time budget tracking.
Can I share my DIY budget app with my partner or spouse?
Yes. Because this system is built within the Google Workspace ecosystem, you can share the Google Site, Form, and Sheet just like a standard document. Simply add your partner’s Gmail address to the “Share” settings so you can both log expenses and view the financial dashboard together.
Ready to crunch your numbers?
Showcase Your Creation
- Now you know how easy it is to get the app built for free, all you need is a weekend to finish everything
- Don’t worry about having everything perfect the first time, it took me multiple iterations to make it to my liking.
- Now’s your chance to shine! Do let me know if you create your app in the comments.
Conclusion: Empower Yourself, Empower Your Finances
Can anyone without programming knowledge and basic Google free tools build an app? The answer seems daunting, but with Google’s free tools, it’s surprisingly achievable. And trust me, the sense of accomplishment you’ll feel when you see your own creation come to life is priceless.
By following these steps, you’ve not only gained a powerful tool for managing your money, but you’ve also learned valuable skills that can be applied to other areas of your life. You’ve become a creator, an innovator, and a problem-solver.
So go ahead, take control of your finances, and start building the financial future you deserve!
"Don't tell me where your priorities are. Show me where you spend your money and I'll tell you what they are."
- James W. Frick Tweet

2 thoughts on “Build the Best Personal Budgeting App for Free with Google Tools: A 4-Step App Design Guide”
Great post!! to the point
I appreciate your comment.